

This guide walks through setting up the OpenClaw Voice Call plugin with Twilio, ngrok, and OpenAI realtime voice so your agent can place and receive phone calls.
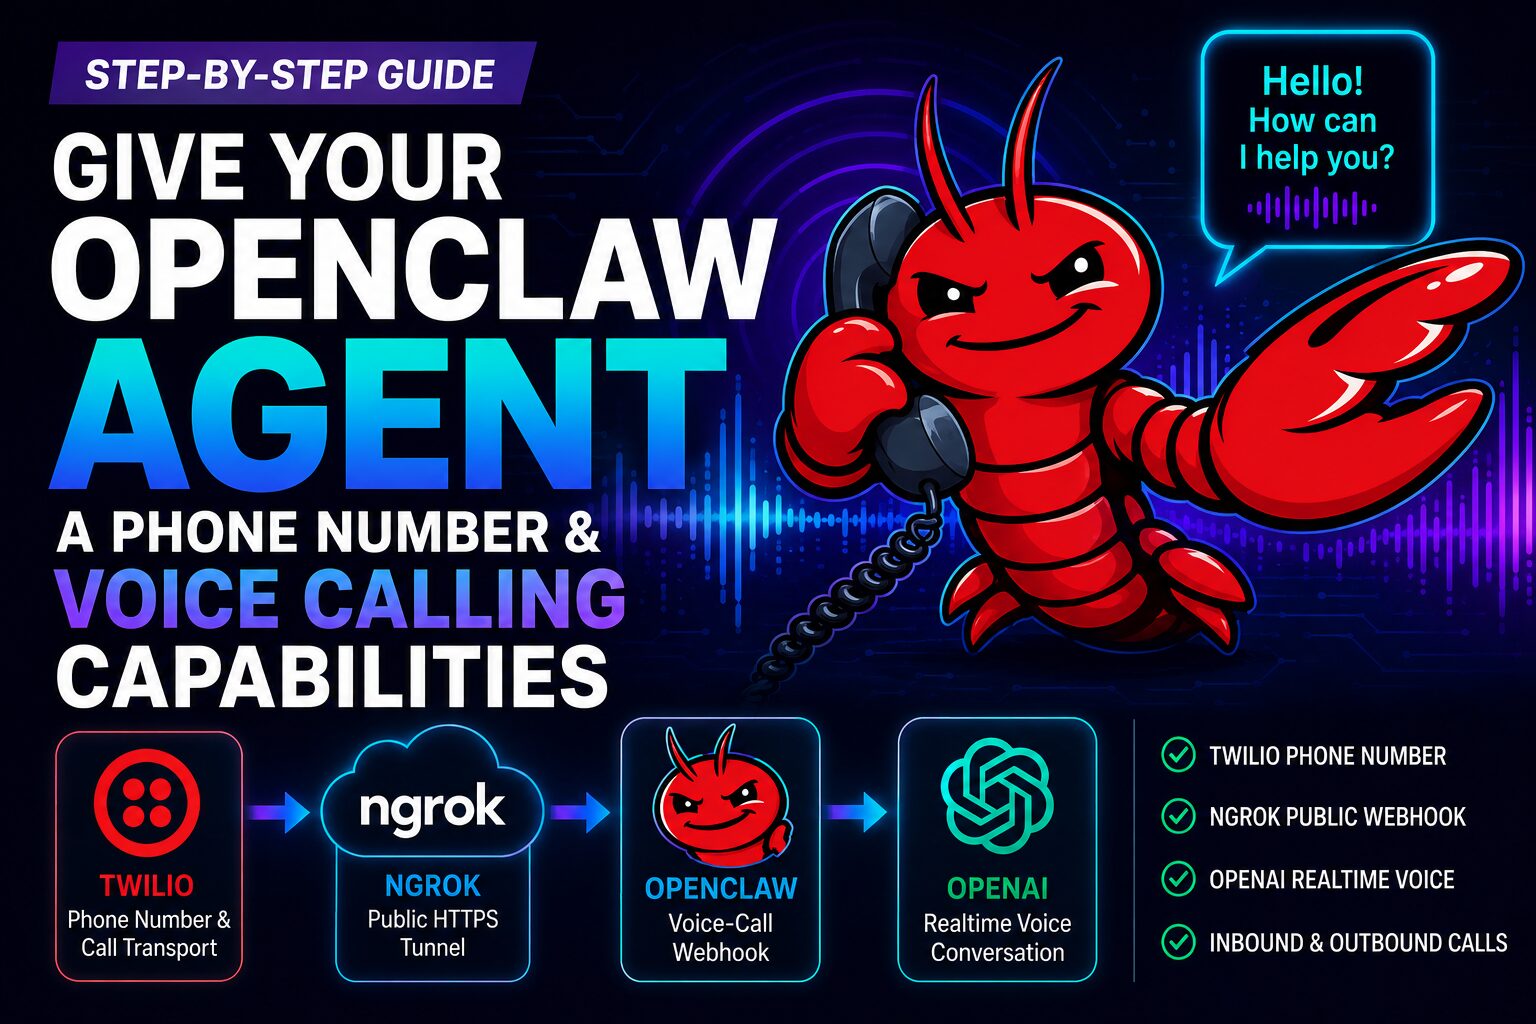
The basic architecture is:
- Twilio provides the phone number and call transport.
- OpenClaw runs the local voice-call webhook.
- ngrok exposes that local webhook to Twilio over a public HTTPS URL.
- OpenAI realtime voice makes the call behave like a live conversation.
What You Need
- A working OpenClaw install
- A Twilio account
- A Twilio voice-capable phone number
- Your Twilio Account SID and Auth Token
- An ngrok account and auth token
- OpenAI/OpenClaw auth capable of using OpenAI realtime voice
If you are using a Twilio trial account, Twilio may play a trial-account prompt before connecting the call. During testing, press the key Twilio asks for so the call continues into OpenClaw.
Step 1. Get A Twilio Phone Number
Create or log into your Twilio account: https://console.twilio.com/dashboard
From the Twilio dashboard, find or purchase a voice-capable phone number.
You will need:
- Twilio phone number
- Twilio Account SID
- Twilio Auth Token
Step 2. Enable The Voice Call Plugin In OpenClaw
Run the OpenClaw onboarding/configuration wizard. Launch the terminal app and run the following command:
openclaw onboardEnable the Voice Call plugin under the plugin/skills section of the onboarding wizard.


Select Twilio as your provider

When prompted for the Twilio phone number, enter your Twilio number in E.164 format (e.g., +13101112222) in the From Number field

When prompted for inbound policy, start with:
allowlist
Then add only your own phone number to the allowlist. This prevents random callers from reaching your agent while you are testing.
When prompted for the Twilio Account SID, paste the Account SID from the Twilio dashboard.

After you provide the SID and hit enter, you will receive a sensitive field notice, like below. You will need to run this after we complete the onboarding wizard.


Select conversation as the default call mode.
If the wizard asks for webhook host/port before ngrok is configured, use local values for now:


Webhook host: 127.0.0.1
Webhook port: 3334
For session scope, select per-phone. This is so the conversation continues across calls. You would use per-call if you were configuring this as a call center, where each conversation starts fresh with each call.
Select per-phoneThat should have been the last question. Finish the wizard. If it asks how you want to launch/hatch the bot and you are not ready yet, choose the “do this later” option.
Step 3. Add The Twilio Auth Token
After the wizard completes, add your Twilio Auth Token:
openclaw config set plugins.entries.voice-call.config.twilio.authToken <TWILIO_AUTH_TOKEN>Replace <TWILIO_AUTH_TOKEN> with the token from your Twilio dashboard.
Do not publish this token in screenshots, blog comments, GitHub issues, or logs.
Restart the OpenClaw Gateway:
openclaw gateway restartThen check the Voice Call plugin setup by running this command:
openclaw voicecall setupYou want the setup checks to pass before moving on. You will most likely notice that it falls the webhook check. You should see something similar to the below screenshot. Which is expected. We will configure the webhook in step 4.

Step 4. Configure ngrok For The Public Webhook
Twilio cannot reach a webhook on 127.0.0.1 from the public internet. Your local OpenClaw instance needs a public HTTPS URL that forwards to the local voice-call webhook. That is what ngrok provides.
Create an ngrok account and find your auth token here: https://dashboard.ngrok.com/get-started/your-authtoken
If you have a reserved ngrok domain, use it. A stable domain is much easier than updating Twilio every time ngrok starts.
You can ask your OpenClaw agent to configure ngrok with this prompt:
Help me configure the OpenClaw voice-call plugin webhook using ngrok.

Please do the following:

1. Inspect my OpenClaw config and determine the voice-call webhook server port/path.
2. Check whether ngrok is already installed and available to the Gateway process.
3. If ngrok is not installed, install the standalone ngrok binary as the standard OpenClaw user, not via admin Homebrew, unless my environment clearly uses a different safe pattern.
4. Make sure the Gateway launch/service environment can find the ngrok binary after restart.
5. Ask me for my ngrok auth token if you need it. Do not print it back or store it in memory/log notes.
6. Configure plugins.entries.voice-call.config.tunnel.provider = "ngrok".
7. If I have a reserved ngrok domain, configure it as plugins.entries.voice-call.config.tunnel.ngrokDomain.
8. Restart the OpenClaw Gateway.
9. Verify the setup with openclaw voicecall setup.
10. Show me the final public webhook URL I should use for Twilio, usually:
https://<my-ngrok-domain>/voice/webhook

Be careful not to delete files or run destructive commands. If you modify config files, summarize exactly what changed and confirm that the final setup check passes.
After this step, your public webhook should look like:
https://your-ngrok-domain.ngrok-free.dev/voice/webhook
Step 5. Update The Twilio Webhook
In the Twilio console, open your Twilio phone number settings. Look for the Voice webhook section.
If it still points at Twilio’s demo app, replace it with your OpenClaw ngrok webhook:
https://your-ngrok-domain.ngrok-free.dev/voice/webhook
Use HTTP POST.
This is especially important for inbound calls. For outbound calls, OpenClaw can provide a per-call webhook URL through the Twilio API, but it is still worth making the Twilio number configuration match your OpenClaw webhook.
Step 6. Enable OpenAI Realtime Voice
This was the key fix in my setup.
The default Voice Call conversation path may use short Twilio TwiML/Gather redirects. In my testing, outbound calls would ring and answer, but then immediately complete. Twilio showed the call as successful, but the duration was 0 seconds.
The useful Twilio error was:
21220: Call is not in-progress. Cannot redirect.
That meant OpenClaw was trying to redirect/update the live call after Twilio had already marked it completed.
The fix was to enable realtime voice mode for the Voice Call plugin. This changes the call from a short TwiML redirect flow into a live Twilio Media Stream connected to OpenAI realtime voice.
Example config shape:
plugins.entries.voice-call.config.realtime.enabled = true
plugins.entries.voice-call.config.realtime.provider = "openai"
plugins.entries.voice-call.config.realtime.providers.openai.model = "gpt-realtime-2"
plugins.entries.voice-call.config.realtime.providers.openai.voice = "cedar"
plugins.entries.voice-call.config.realtime.consultPolicy = "always"
Your agent should have configured this portion for you with the above prompt, but you can check by restarting the gateway (openclaw gateway restart) and then verify by running this command:
openclaw voicecall setupYou want to see:
OK mode: Realtime voice enabled (openai)If you don’t see openai configured, simply ask your agent to configure the voice call plugin with the OpenAI realtime voice.
Step 7. Tune Realtime Voice Behavior
Once realtime voice is working, you may notice that the assistant gets interrupted too easily. That is usually barge-in behavior: the realtime model hears input audio and cancels its current response so the caller can speak.
That is useful, but it can be too sensitive on phone audio.
This conservative tuning worked better for my setup:
interruptResponseOnInputAudio: false
vadThreshold: 0.65
silenceDurationMs: 650
prefixPaddingMs: 300
minBargeInAudioEndMs: 800
What these do:
- interruptResponseOnInputAudio: false makes the assistant less likely to stop talking immediately when it hears noise.
- vadThreshold: 0.65 makes speech detection less sensitive.
- silenceDurationMs: 650 waits a little longer before deciding your turn is finished.
- prefixPaddingMs: 300 preserves a little audio before detected speech starts.
- minBargeInAudioEndMs: 800 prevents extremely early interruptions.
The tradeoff is that the conversation may feel slightly less instant, but it is usually more stable.
Step 8. Test An Outbound Call
Place a test call:
openclaw voicecall call --to "+1YOURNUMBER" --mode conversation --message "Hello, this is a test call from my OpenClaw agent."If you are on a Twilio trial account, listen for the Twilio prompt and press the requested key to continue.
During a successful realtime call, OpenClaw should show transcripts and realtime events.
Check active call status:
openclaw voicecall status --jsonOr inspect a specific call:
openclaw voicecall status --call-id <CALL_ID>Or even better, simply ask your OpenClaw agent to call you via sending him a message via Telegram.
Congratulations! You have now configured your agent with a phone number and voice calling capabilities. You can have it call you on a schedule to provide you summaries of what it’s working on. You can call it and talk through your to do tasks on your drive home. You can even have it call a restaurant and make reservations for you. Yes, I tried it and although there can be some issues, it did work! Imagine all the restaurant staff taking calls from digital assistants trying to book a reservation. Yes, we are already there.
Troubleshooting Scenarios
The below are some examples of road bumps I hit along the way. In case you come across the same. I highly recommend you to leverage your agent as you work through these. In most cases, your agent will be able to update it’s own config to address these issues.
1. The call rings, then immediately hangs up
Check Twilio call logs. If the call shows Completed with 0 sec duration, inspect the event details.
If you see this, enable realtime voice mode:
21220: Call is not in-progress. Cannot redirect.
The default redirect flow is likely completing before OpenClaw can move the call into listening mode.
2. Twilio plays an opening message
That is usually the Twilio trial-account prompt. Press the key Twilio asks for to continue the call. For a clean production experience, upgrade the Twilio account so trial prompts are removed.
3. The Twilio webhook points to the demo app
Replace the demo webhook with your ngrok webhook and use HTTP POST:
https://your-ngrok-domain.ngrok-free.dev/voice/webhook
4. OpenClaw and the plugin versions are out of sync
If the Voice Call plugin or Gateway behaves strangely after install, update OpenClaw from the correct account/environment for your machine:
openclaw update
openclaw gateway restart
openclaw doctor
openclaw doctor --fix
openclaw voicecall setup
5. The wrong phone number is configured
Use E.164 format. For US numbers, include +1. If you accidentally entered a number without the country code, update the config (edit the phone number in your openclaw.json file) and rerun the following command to confirm:
openclaw voicecall setup6. ngrok works manually, but the Gateway cannot find it
If ngrok was installed into a user-local path, make sure the Gateway service environment includes that path. This matters when the Gateway runs through launchd or another service manager instead of your interactive shell.
After changing the service environment, restart the Gateway and rerun:
openclaw voicecall setupFinal Working Setup
- Twilio regular voice-capable phone number
- Twilio Voice webhook pointed to the ngrok public URL
- OpenClaw Voice Call plugin using ngrok tunnel
- OpenAI realtime voice enabled in the Voice Call plugin
- Gateway restarted after config changes
- openclaw voicecall setup passing
Once those pieces were in place, outbound calls connected, the realtime bridge started, and OpenClaw transcribed live caller audio.
Security Notes
Keep these stored in a password manager and never share:
- Twilio Auth Token
- ngrok Auth Token
- Telegram bot token
- OpenClaw Gateway auth token
- Full config files unless secrets are redacted
Use allowlists while testing inbound calls. Open voice access is powerful; treat it like giving someone a live phone line to your agent.